Only users with an Innovator or Leader license can customize ticket categories and input fields.
To add a ticket category
-
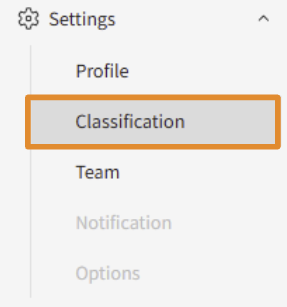
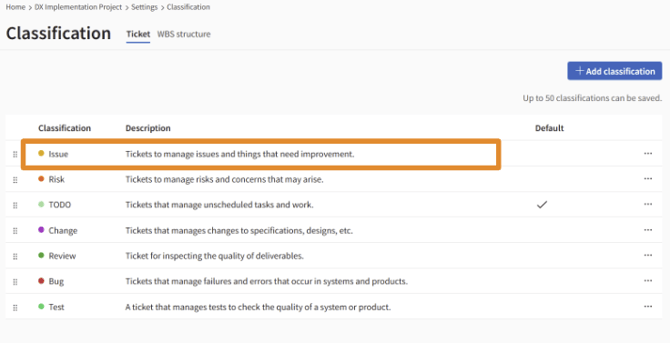
Click [Settings] > [Classification] in the side menu.
-
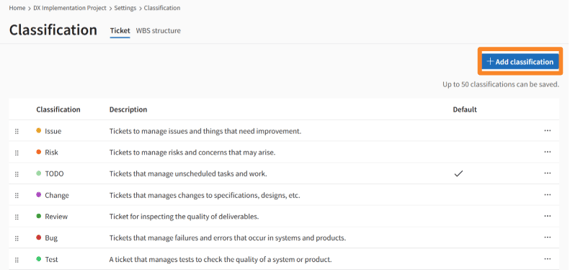
Click [Add classification] in the upper right corner of the screen.
-
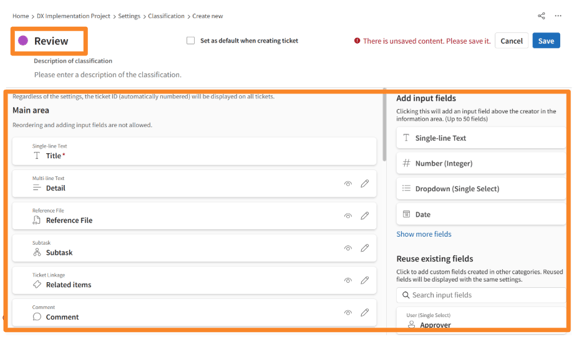
Enter the classificatinon name.
-
Edit the classification color, main area, and information area as needed.
-
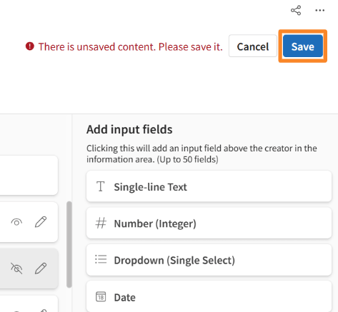
Click [Save] and confirm that the classification has been added to the list.
Customizing Input Fields
-
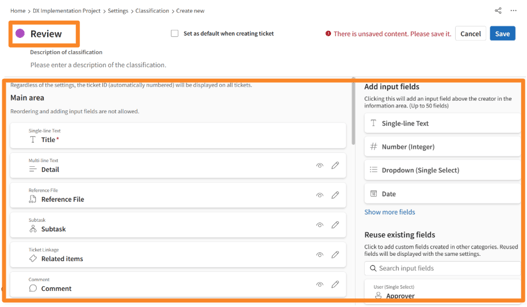
From the sidebar menu, click [Settings] > [Classification], and select the classification you want to customize from the [Ticket] and [WBS Configuration] tabs.
-
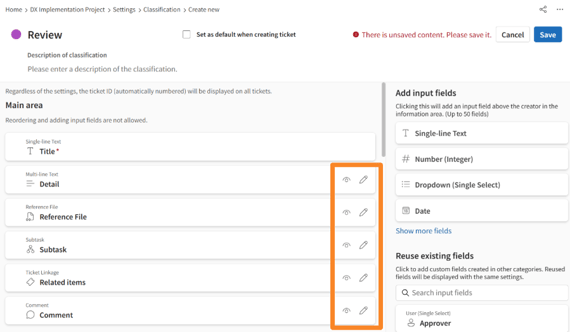
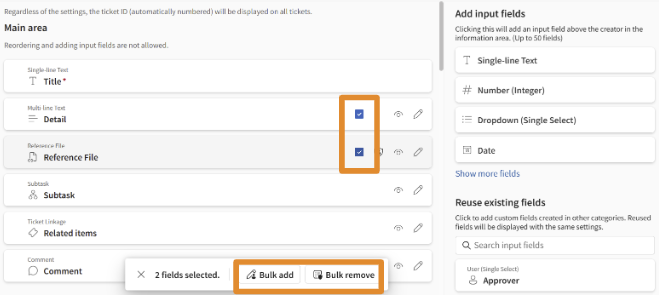
To edit the main area: Click the pencil icon on the item you want to edit and enter the field description. To hide a field, click the eye icon.
-
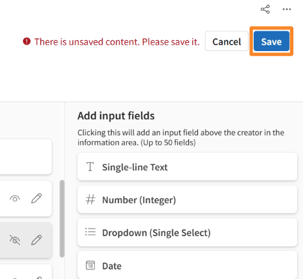
To edit the information area: From the right side of the screen, select the type of input field you want to add.
-
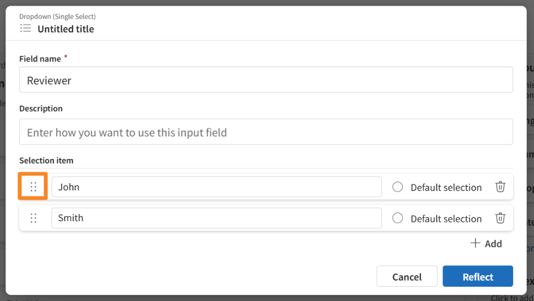
Enter the field name and any necessary settings for the field type (e.g., for a dropdown field, enter the selection items).
-
Review the settings and click [Apply to List].
-
To rearrange fields: Drag and drop the gripper on the left side of each input field.
-
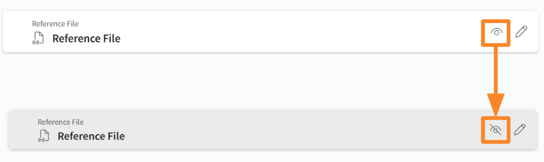
To hide a field, click the eye icon next to it.
-
-
Review your changes and click [Save].
-
Finally, check a ticket details screen to confirm that your changes have been applied.
You cannot add, delete, or reorder fields in the main area.
When fields are added to the WBS Configuration, the Gantt chart screen will only display custom fields of the following formats: Single-line Text, Number (Integer), Single Dropdown, and Date.
Setting Field Edit Restrictions
If you want to prevent unintended changes to planned start/end dates or restrict specific fields to certain members, you can set edit permissions on a per-field basis.
How to set individual edit restrictions
- Click Settings > Categories in the side menu, and select the category you wish to customize from the Tickets or WBS Structure tabs.
- Hover over the target row and click the [
 ] icon that appears.
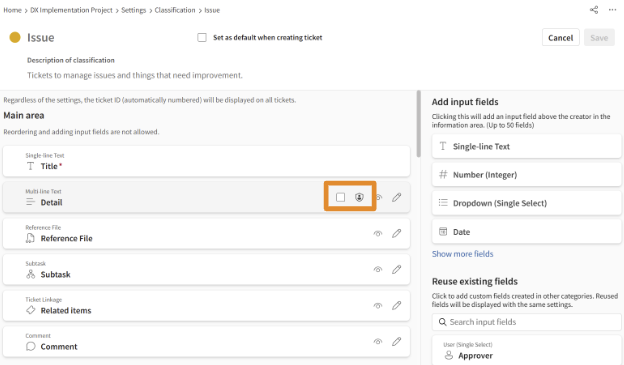
- In the "Edit Permissions" modal, toggle off [All project members can edit].
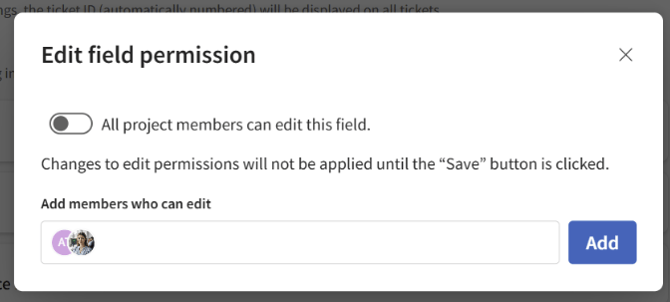
- Select and add specific users or teams you want to grant edit access to, then click Save.
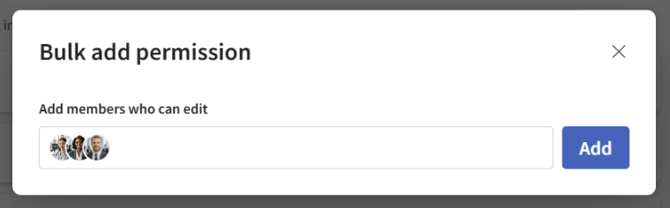
Restricting multiple fields at once:
-
Check the boxes for all the fields you want to edit.
-
Click the Bulk Assign button at the bottom of the screen to grant or revoke permissions in one go.